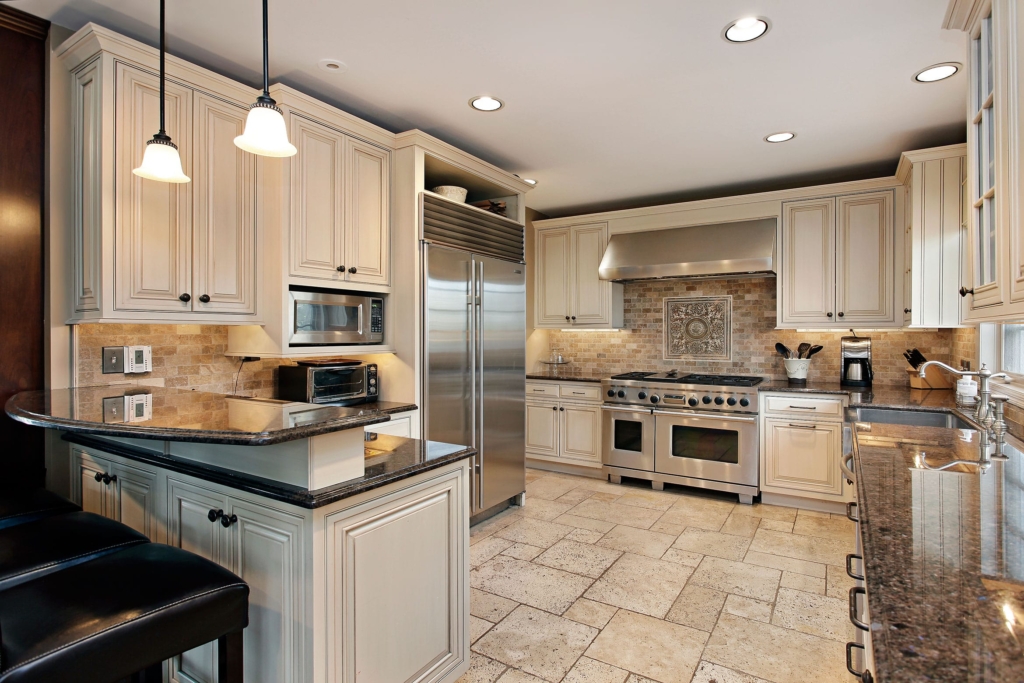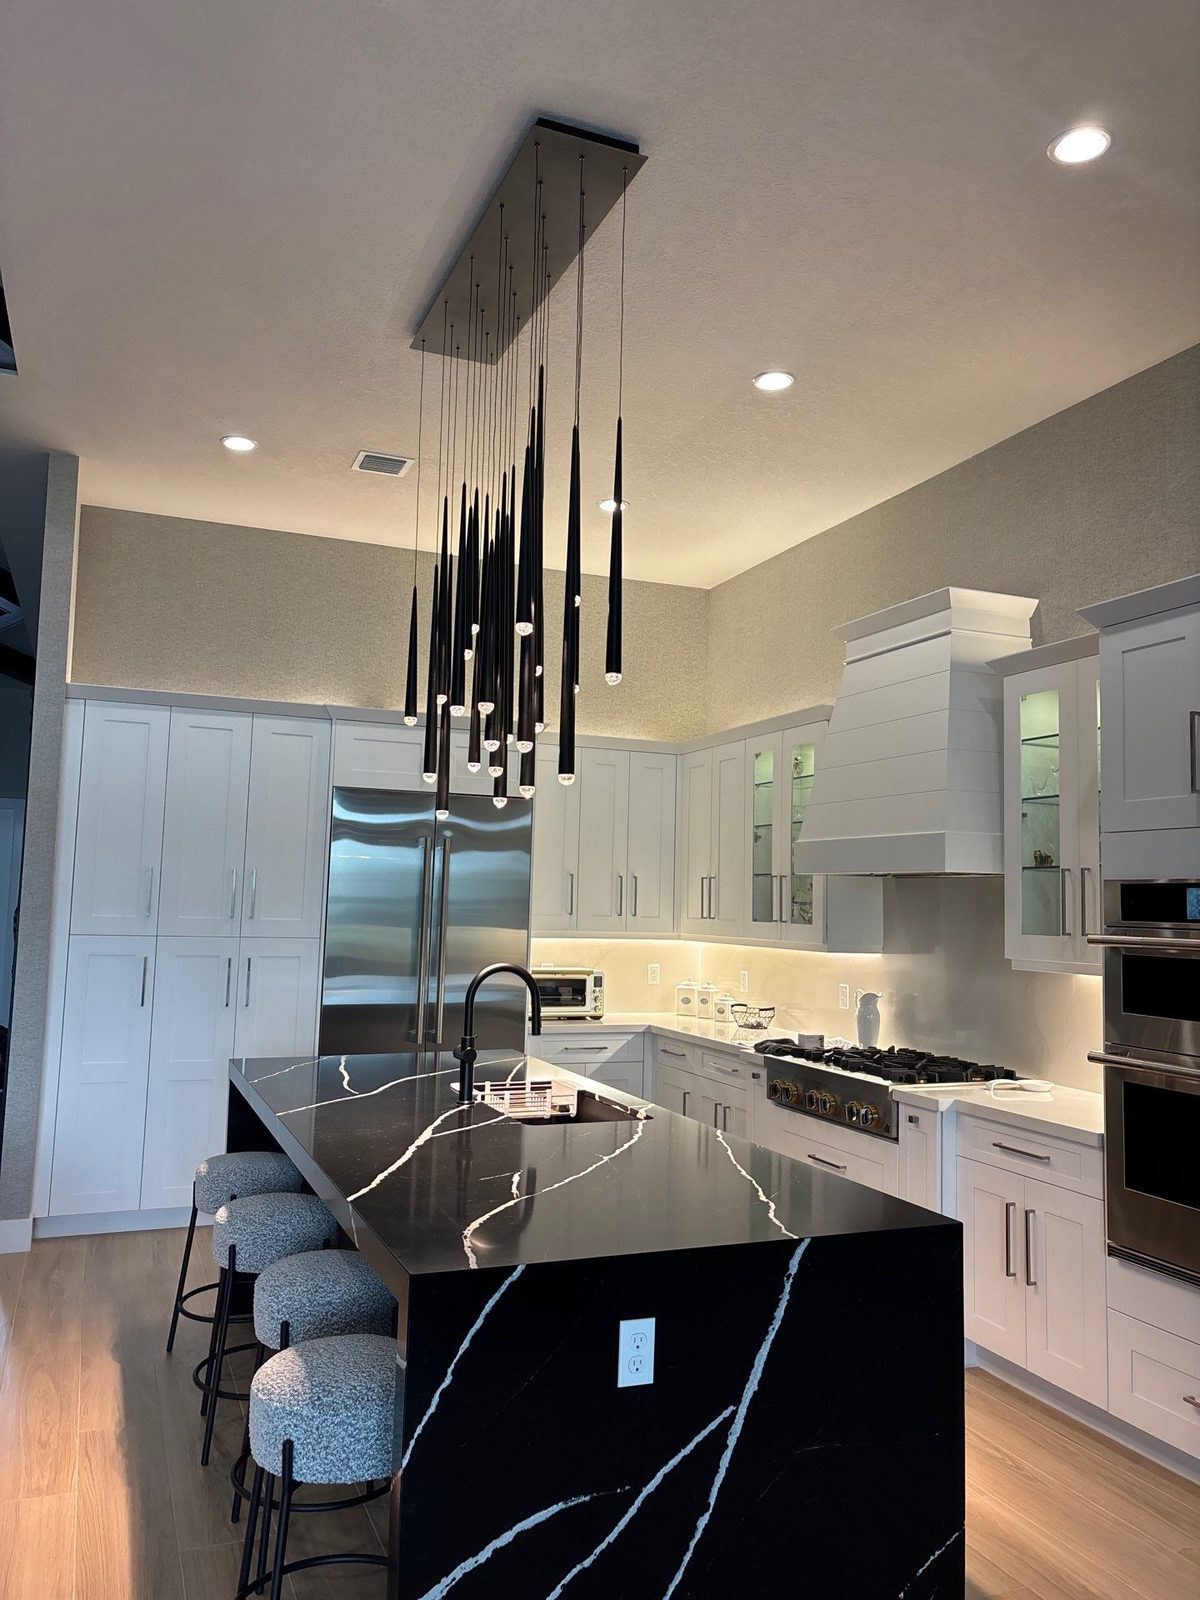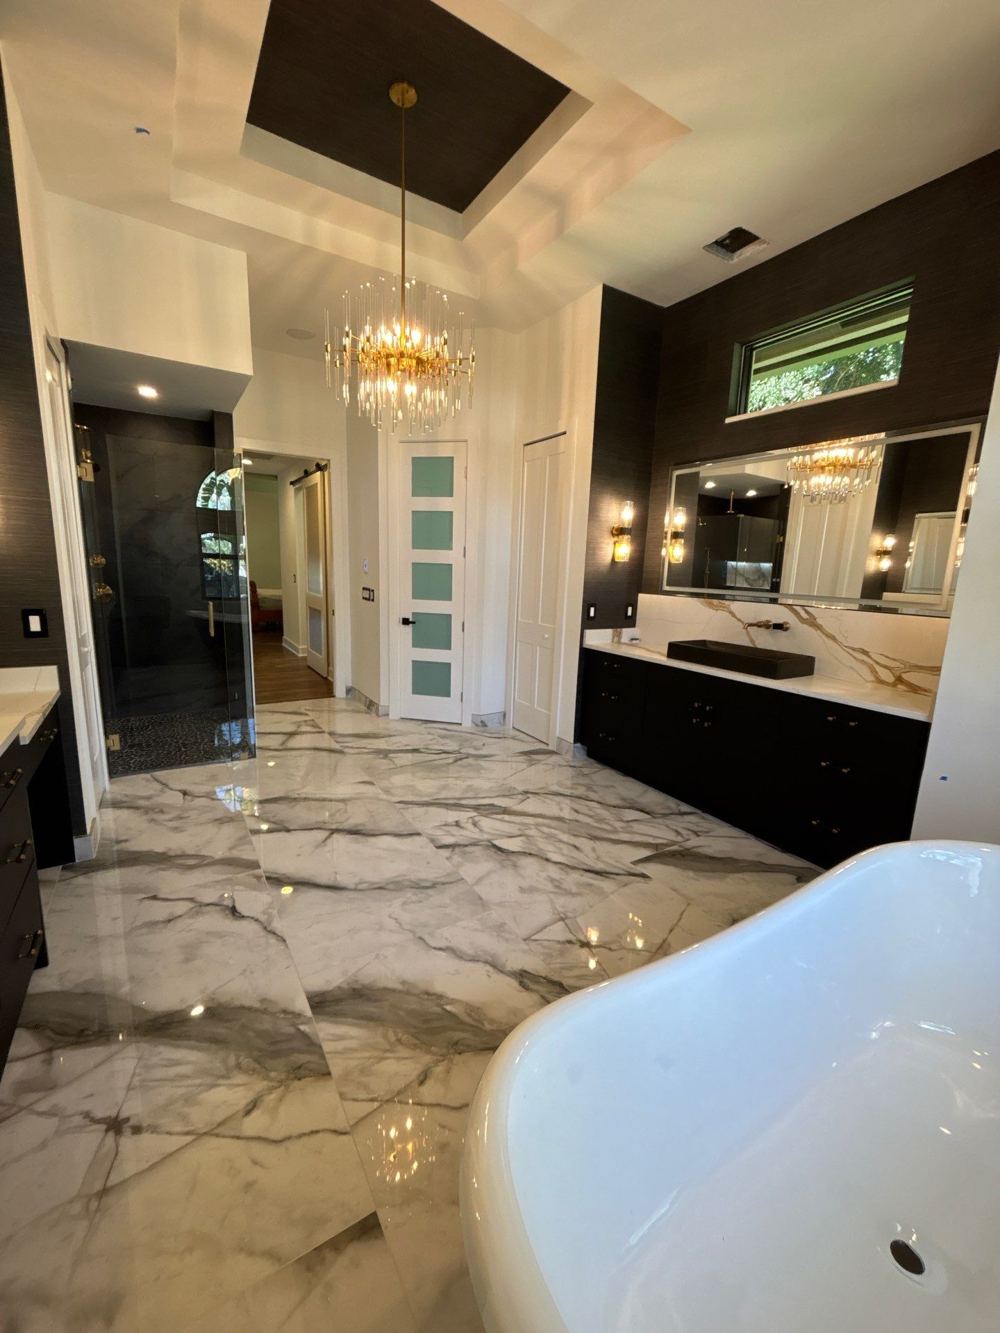
The most useful kitchen lighting ideas make sense only when you see them inside a real room. So instead of a list, this guide lights one sample kitchen from scratch, one layer at a time. Picture a typical Palm Beach County kitchen: cabinets along two walls, an island, a sink under a window, and an 8-foot ceiling. The kitchen opens to a dining and living area. We will add ambient light first, then task light, then accent light, and finish with the settings that tie it all together.
Start on paper, not on the ceiling
A dim kitchen usually has enough watts. The problem is where the light comes from: one ceiling fixture lights the floor, and at the counter your own body shadows the cutting board. The fix is three layers. Ambient light fills the room so you can move around safely. Task light shines on the surfaces where you work. Accent light adds depth and draws the eye. The NKBA Kitchen and Bath Planning Guidelines call for task lighting at each work surface in addition to general lighting. So our sample plan starts with the counters, not the ceiling.
Mark each zone on a floor plan: ambient light over the walkways, task light over the counters, sink and cooktop, and accent light where you want the eye to go. Then give each layer its own switch, because layers on one switch cannot set a mood. The drawing also shows where new wiring has to run, which is a main driver of cost.
Layer one: ambient light from the ceiling
In our sample kitchen, recessed lights carry the ambient layer. A common rule of thumb spaces them about half the ceiling height apart. On the 8-foot ceiling, that puts them roughly 4 feet apart.
Placement matters more than the count. Run the row over the front edge of the counters, so the light lands in front of you instead of behind you. A neat grid that ignores the cabinets ends up lighting the tops of the upper cabinets, and too many lights clutter a ceiling.
If the kitchen is in a condo
Now put the sample room in a condo. Many Palm Beach County condos have concrete ceilings, and you cannot cut a recessed light into a slab the way you can into drywall. Slim flush-mount LED fixtures or a track rail give ambient light without cutting. A dropped soffit along the cabinet run can also hide the wiring. Read your association rules first: many require approval for work that touches the structure or common elements, and noise rules often limit when drilling can happen.
Layer two: task light where the work happens
Task light does the most to make cooking easier. It should be bright, close to the surface and in front of you. In the sample kitchen, several spots need it.
Under the upper cabinets
If the budget covers only one addition, make it this one. Linear LED fixtures mount under the upper cabinets and light the counter directly. Mount them toward the front edge of the cabinet, so the light falls on the work area and not only the backsplash. Choose a fixture with a diffuser, because bare LED dots reflect as bright spots on a polished stone counter. Hardwired fixtures need power planned before the backsplash goes in.
Over the island
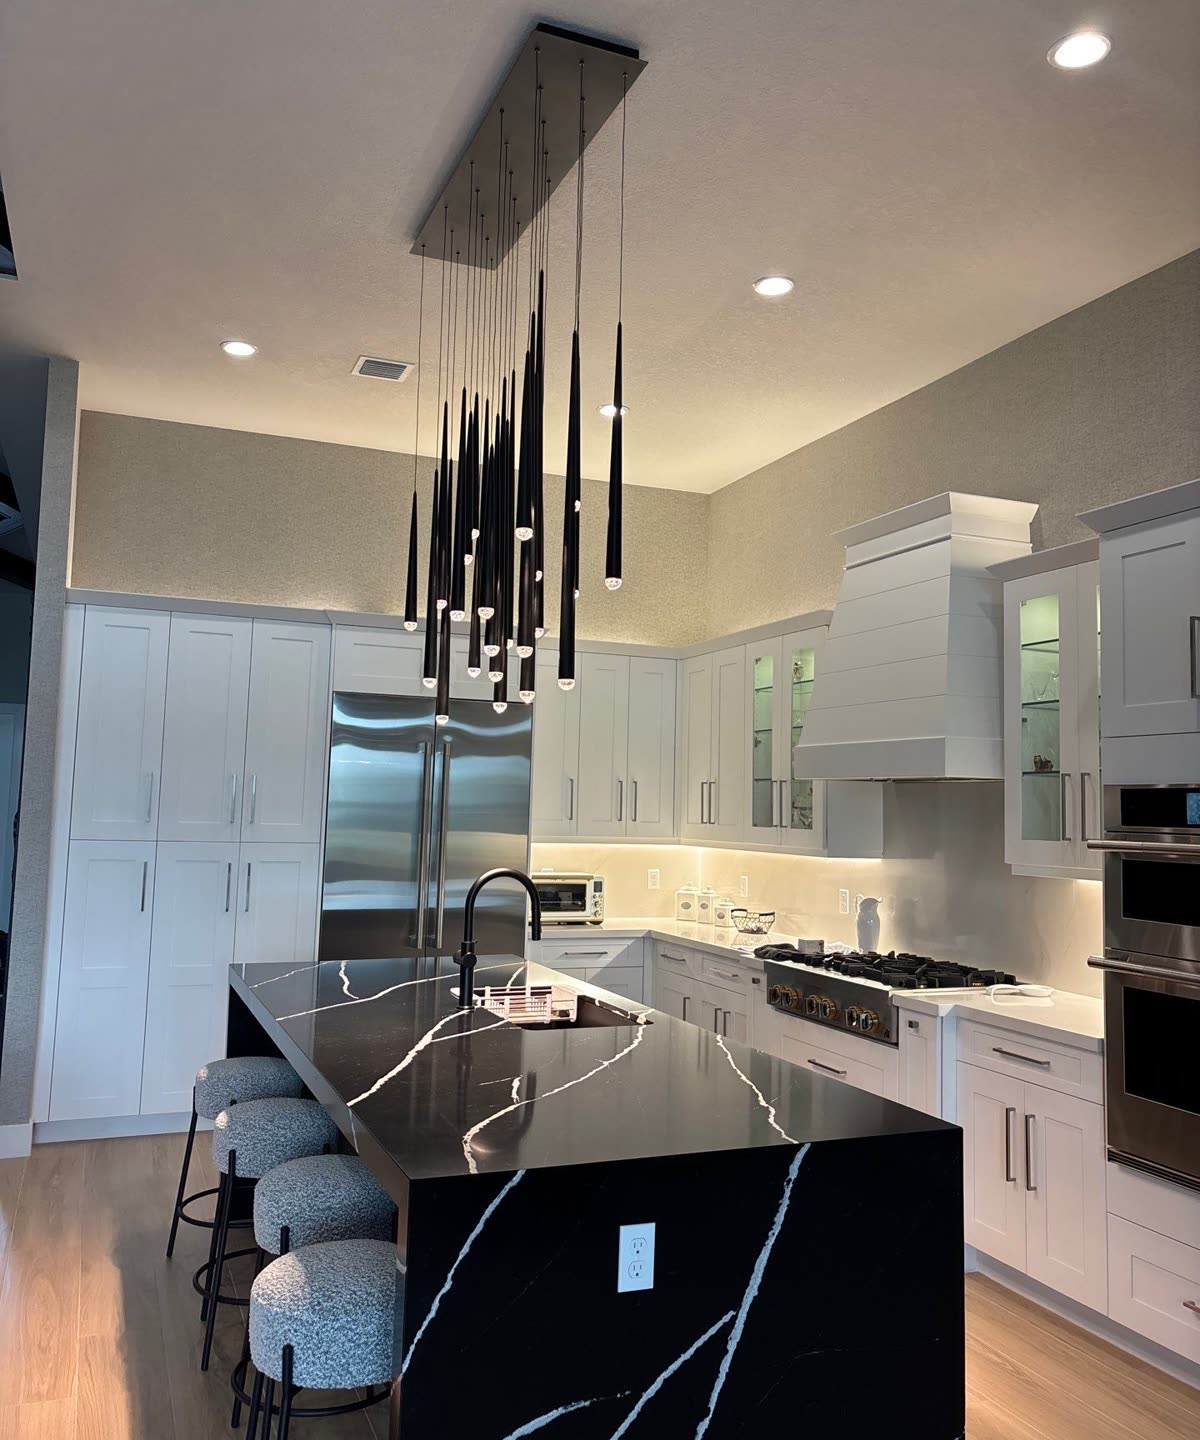
Pendants light the island and also act as the room’s main decoration. Designers commonly hang them 30 to 36 inches above the counter. Pick shades that direct light down onto the counter. Put the pendants on their own dimmer, separate from the recessed lights. For sizing and spacing in more detail, see our guide to choosing an island and its pendants.
At the sink and the cooktop
The sink is where most people stand longest. In our sample room it sits under a window, so a light above the window frame or in a soffit keeps the view clear. Place it so the faucet does not cast a shadow into the basin. Near the sink, choose a fixture listed for damp locations. That matters more in our humid climate, where steam and moisture are constant.
At the cooktop, the range hood supplies the light, but many hood lights are weak or cool-toned. Check the hood’s light output and color before you buy, and fit LED lamps that match the rest of the room.
Inside the pantry and tall cabinets
Storage is where kitchen lighting ideas are most often forgotten. The pantry is often the darkest spot in the room. A door-activated switch or motion sensor turns the light on as you open the door, so you never hunt for a switch with full hands. In tall pull-out cabinets, small LED strips along the sides light every shelf. Plan that wiring before the cabinets are built, because running power into a finished box is much harder.
Layer three: accent light for the evening
Accent light is optional, but it makes a kitchen look finished at night.
Behind glass doors. Glass-front uppers look flat at night unless the inside is lit. Small LED strips on the face frame, or puck lights under each shelf, make glassware glow. Glass shelves let light pass down through the whole cabinet, while wood shelves block it, so light each wood shelf separately. LEDs run cooler than older bulbs, which helps inside a closed box. Even so, ENERGY STAR notes that managing heat is the most important factor in how well an LED performs over its life. Choose fixtures made for enclosed spaces.
Above the upper cabinets. If the uppers stop short of the ceiling, a hidden LED strip on top can wash the ceiling with soft light. The strip must sit behind a lip or crown so the diodes stay hidden. If your cabinets run to the ceiling, a slim cove along a soffit gives a similar glow.
At the toe kick. An LED strip in the recessed base makes the cabinets look like they float. At night it lights a path to the fridge, so a motion sensor works well here. Keep it low and warm, or the glare will show every crumb. Cabinets on legs cannot take this idea.
Carry the plan into the open living area
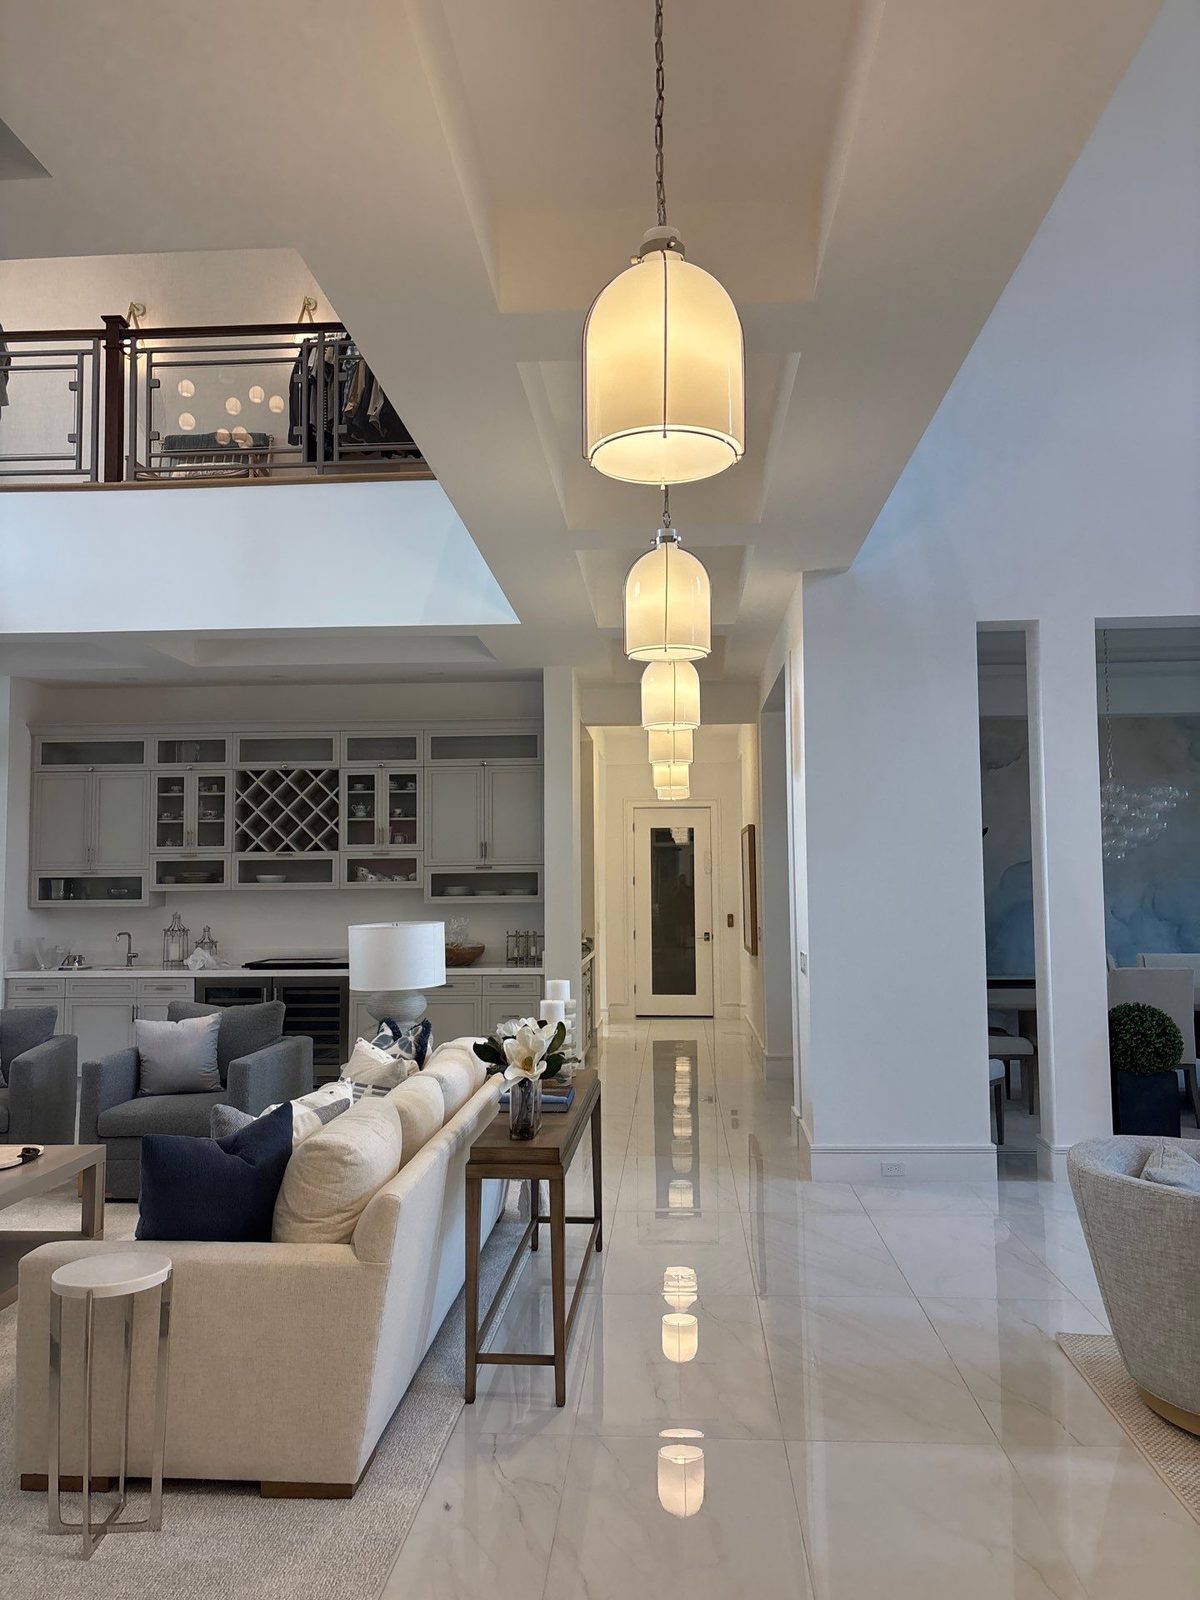
In our sample home, the kitchen, dining area and living room share one view. So repeat a shape, finish or glass type across all three; a row of matching pendants can lead the eye through the house. A different statement fixture in every zone looks busy. Also check the sight lines from the sofa. A bare bulb that is fine over the island can glare straight into the eyes of someone across the room.
The settings that make kitchen lighting ideas work
The last decisions are about the light itself. They cost little at the start but are hard to fix later.
- One color temperature. Color temperature, measured in kelvin (K), describes how warm or cool white light looks. Lower numbers look warmer. Many designers use 2700K to 3000K in kitchens that open to living areas, because it matches the lamps in the rest of the house. Some people prefer 3500K to 4000K for crisper work light. Whichever you choose, specify it for every fixture, and check the box before installation.
- High color rendering. Color rendering index (CRI) measures how true colors look under a light. The U.S. Department of Energy says a CRI of 80 is the general minimum for interior lighting, and 90 or higher shows excellent color fidelity. Where you prep food, 90 or higher is worth it. Check paint and stone samples under the chosen lights.
- Dimmers by zone. Put recessed lights, pendants, under-cabinet lights and accents each on their own dimmer. Group the switches where you enter the room. Check that every fixture is labeled dimmable and each dimmer is compatible with it, or the pair can flicker, buzz or dim unevenly.
- LED throughout. According to ENERGY STAR, LED products produce light up to 90% more efficiently than incandescent bulbs. Incandescent bulbs release most of their energy as heat, which is one more load for the air conditioning here. LEDs also dim slowly with age instead of burning out suddenly.
When the wiring goes in
Some of this is a weekend job. You can swap old bulbs for LEDs, move every bulb to one color temperature, or add battery puck lights inside a cabinet. Most of the sample plan, however, needs open walls or ceilings. New recessed lights, hardwired under-cabinet fixtures, moved pendant boxes, new switch locations and wired toe-kick lights usually need a qualified electrician. The work may also need a permit from your city or county, and a condo association may need to approve it.
That is why we plan lighting as part of a full kitchen remodel, alongside the cabinets, counters and backsplash. While the cabinets are being built, adding power for under-cabinet and in-cabinet lights is simple. After they are installed, the same work often means cutting into new finishes. On a remodel, we handle the permitting process. You can see finished rooms in our project gallery, or read about our work on kitchens in Boca Raton.
Get the lighting on the drawings early
The best time to act on kitchen lighting ideas is before the ceiling and backsplash are closed up. If you are planning a kitchen remodel in Palm Beach County, tell us about your kitchen and we will build the lighting plan in from the start. We hold a 5.0 average from 100+ Google reviews.