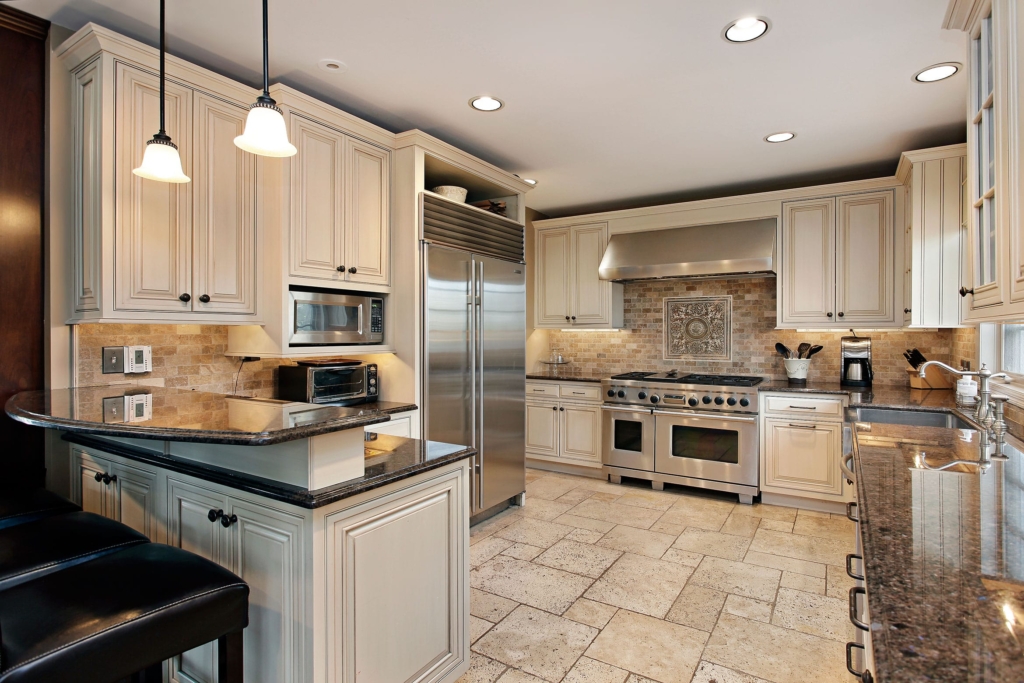
Good kitchen island ideas start with a tape measure, not a photo. An island that looks right in a picture can block the aisle in a real kitchen. So this guide works in order: first the clearances, then the job you want the island to do, then the style. Settle each step before you move to the next.
Step one: check the clearances
The NKBA Kitchen and Bath Planning Guidelines give the numbers designers use. Measure your room, subtract these, and what remains is the island you can actually have.
| Space | NKBA guideline |
|---|---|
| Work aisle, one cook | At least 42 inches |
| Work aisle, two or more cooks | At least 48 inches |
| Walkway with no work zone | At least 36 inches |
| Behind seated diners, nobody passes | 32 inches from the counter edge |
| Behind seated diners, people edge past | 36 inches |
| Behind seated diners, people walk past | 44 inches |
| Counter length per seat | 24 inches |
| Knee space at a 36-inch counter | 15 inches |
| Knee space at a 42-inch counter | 12 inches |
Here is how that adds up. With 24-inch cabinets on both walls, a 3-foot-deep island and two 42-inch aisles need 14 feet from wall to wall. If your room is narrower, a standard island will crowd it.
Check the layout around it
An island also has to fit the layout. In an L-shaped kitchen, the two walls hold the range, the sink and the refrigerator, and the island faces the living area. It works best parallel to the longer leg. A U-shaped kitchen takes an island only in a large room, because every side needs a work aisle. Otherwise, the island traps the cook inside the U. A wide galley can take an island as a third run of counter, but two cabinet runs and two 42-inch aisles add up quickly.
Keep the work triangle in mind too. NKBA suggests the three legs between sink, range and refrigerator total no more than 26 feet, with each leg between 4 and 9 feet. No leg should cross an island or peninsula by more than 12 inches.
When the numbers say no
If you cannot keep 36 to 42 inches around a fixed island, you still have options:
- A narrow island. At 24 inches deep, the depth of a base cabinet, it still adds prep space and drawers. Seating is the weak point, so add a short overhang at one end for a single stool, and ease the corners people brush past.
- A peninsula. It attaches to a wall or cabinet run on one end, so it needs clearance on only three sides. It gives seating, storage and a work surface. Keep it out of the path between sink, range and refrigerator, or it becomes a dead end.
- A rolling cart. It adds prep space when you need it and rolls away when you do not. It cannot hold a sink, a cooktop or an outlet. Choose a solid top and locking casters. If you use it for weeks and still want more, a built-in island will likely earn its space.
For more ways to open up a tight room, see our ideas for small kitchen remodels.
Step two: kitchen island ideas by the job they do
Most kitchen island ideas do one main job best. Pick that job first, because it decides the plumbing, the power and the cost.
To eat: seating that fits the room
Seating is the top reason people want an island. Each stool takes 24 inches of counter, so an 8-foot island seats four and a 6-foot island seats three. Leave extra length at corners.
One row on the long side is the simplest plan. Guests stay out of the work zone and the cook can still talk to them. It fails when the aisle behind the stools is also the path to the back door. Then you need the full 44-inch walkway.
Stools that wrap the end turn a row into a conversation corner, which suits families who eat breakfast at the island. The end overhang needs support, though. A deep overhang usually needs hidden steel brackets or a thicker slab, which adds cost. Knees meeting at an outside corner is a common complaint, so leave room on both sides of the turn.
A raised ledge at 42 inches hides dirty dishes from the living room, so it suits open plans. Since knee space there is only 12 inches, the raised section can stay slim. However, bar-height stools are harder for children and older adults to climb, and the ledge splits your prep surface in two. It is a good trade if you entertain often but cook simply.
To prep and cook: a cooktop or a clear work surface
A cooktop in the island lets the cook face the room, and it frees the perimeter for storage. That said, it is the hardest island to do well. An island hood pulls smoke less well than a wall hood, so plan a strong hood or downdraft and its duct route early. NKBA also suggests at least 9 inches of counter behind a cooktop set level with the counter, to keep seated guests away from hot pans. With young children at the stools, many families keep the cooktop on the wall and the island as one flat prep surface.
To clean: a prep sink
A second, smaller sink lets one person rinse vegetables while another uses the main sink. As a result, two cooks stop fighting for one spot. NKBA suggests 24 inches of counter on one side of a sink and 18 inches on the other.
This idea often fails on cost, not design. An island sink needs a drain and vent under the floor. In a Palm Beach County condo on a concrete slab, that usually means coring the slab, and most associations must approve it first.
To store: drawers, power and a beverage wall
Doors on a base cabinet hide half their contents behind the front row. Deep drawers bring everything forward, so pots and small appliances are easy to reach. Many designers fill islands almost entirely with drawers. Plan one wide drawer for pots near the range and a narrow pull-out for trays. An outlet on the end panel keeps mixer cords off the counter. Drawers cost more than doors, but they return that cost in daily use.
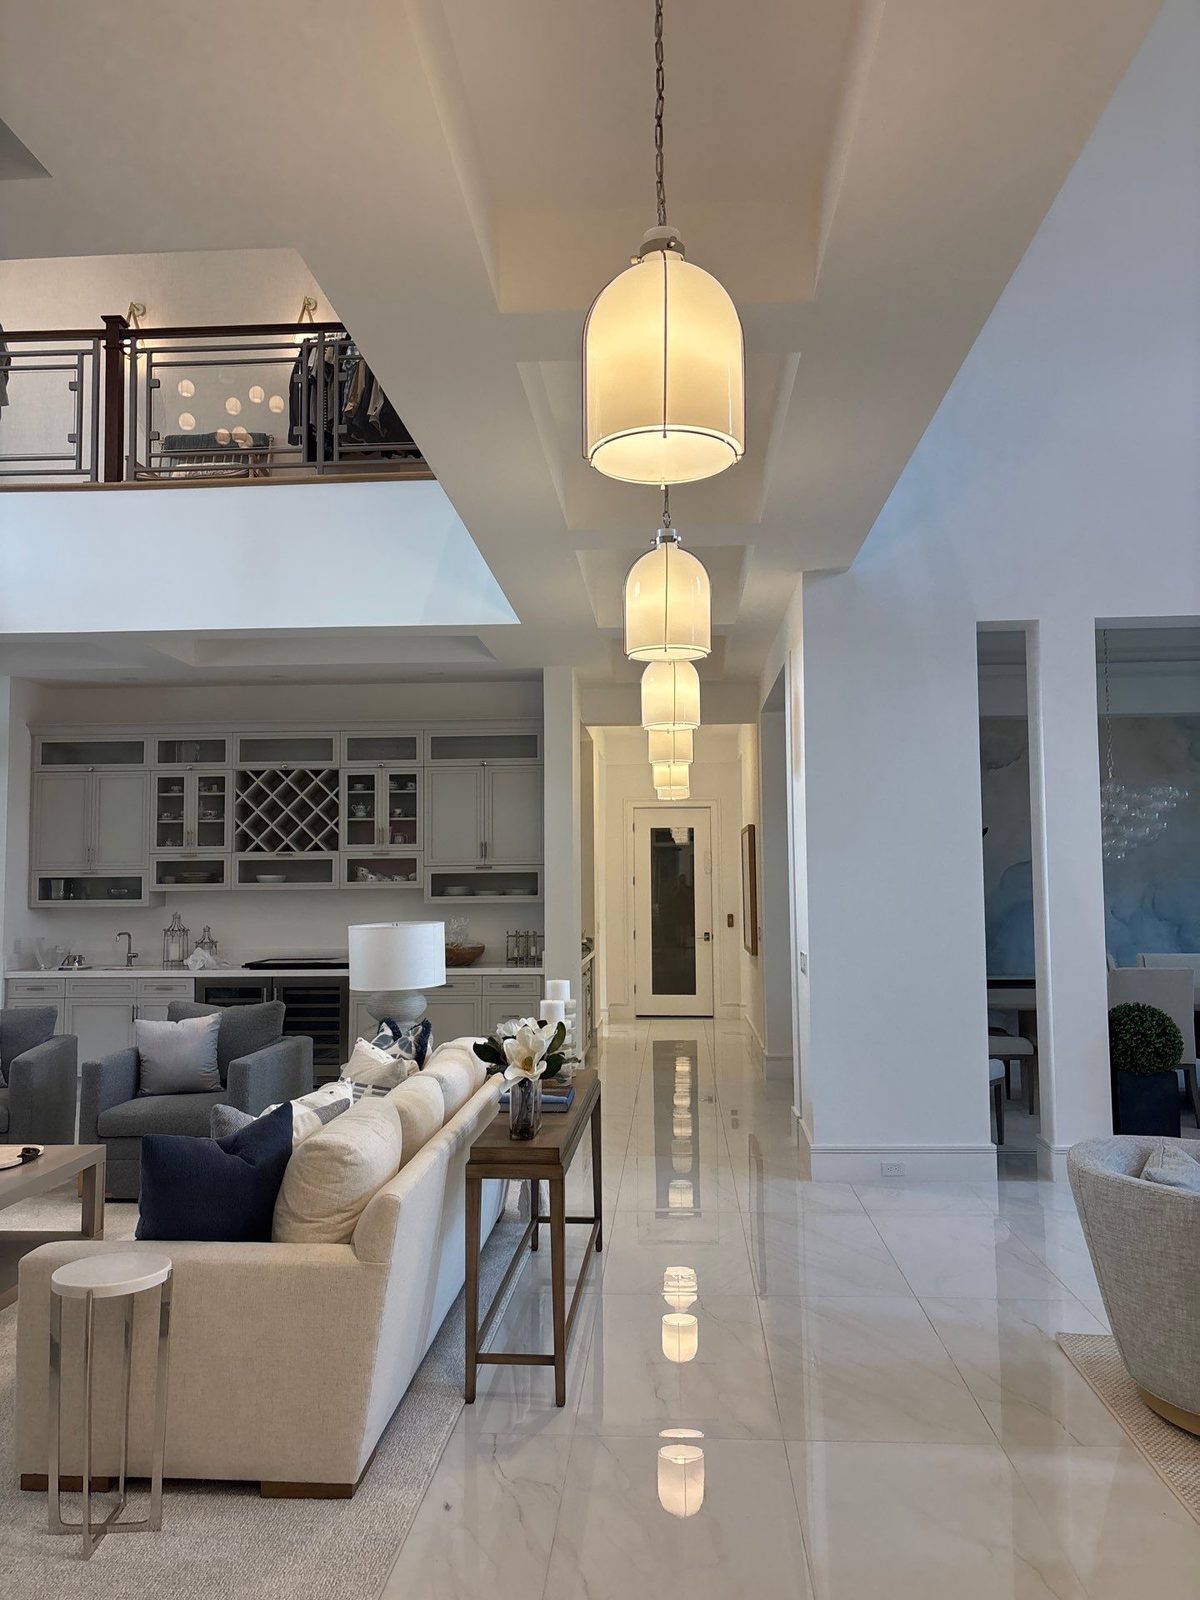
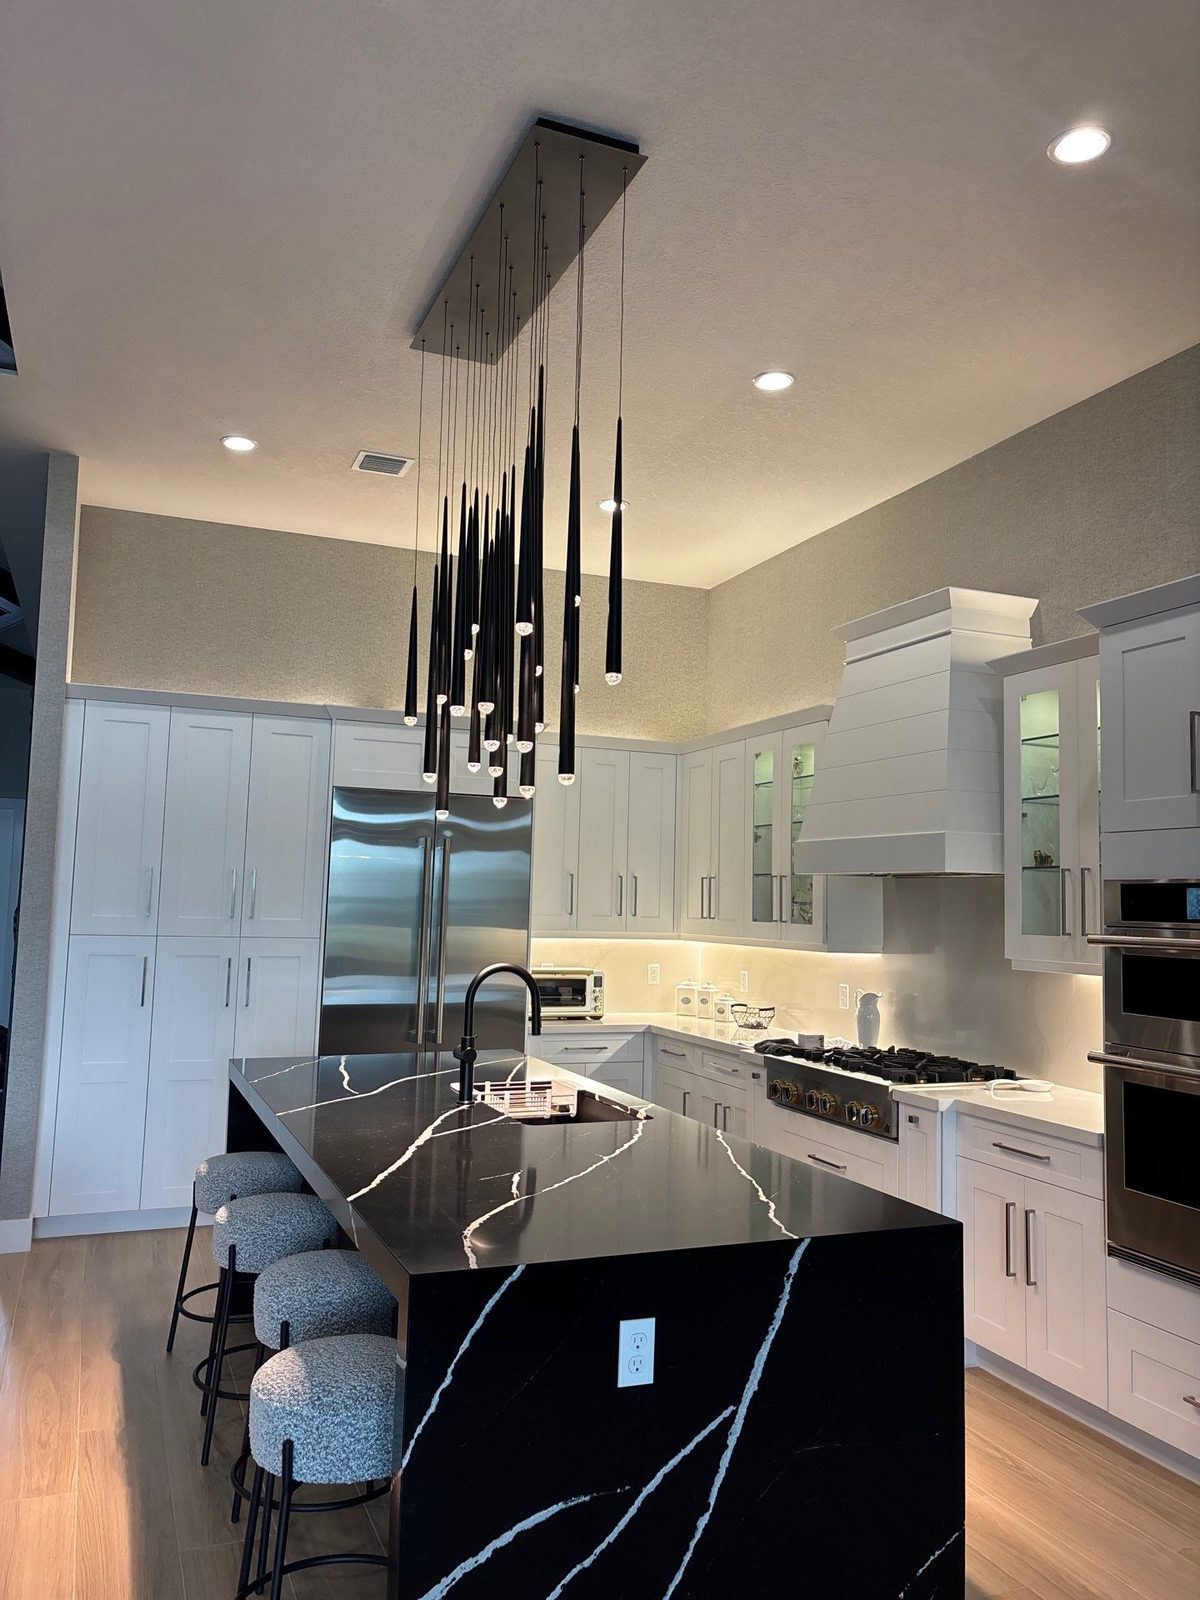
In an open plan, guests often crowd the island to reach drinks. A built-in beverage wall outside the work zone solves this. It can hold a bar sink, under-counter coolers, glass-front cabinets and wine storage, as in the photo above. The island then stays free for cooking and serving. This needs wall space away from the main aisles, plus water and power at that wall, so it suits larger homes.
Step three: style choices that set the tone
Once the size and job are fixed, these kitchen island ideas decide how the room looks, since the island is the largest single piece in most kitchens.
Waterfall countertop edges
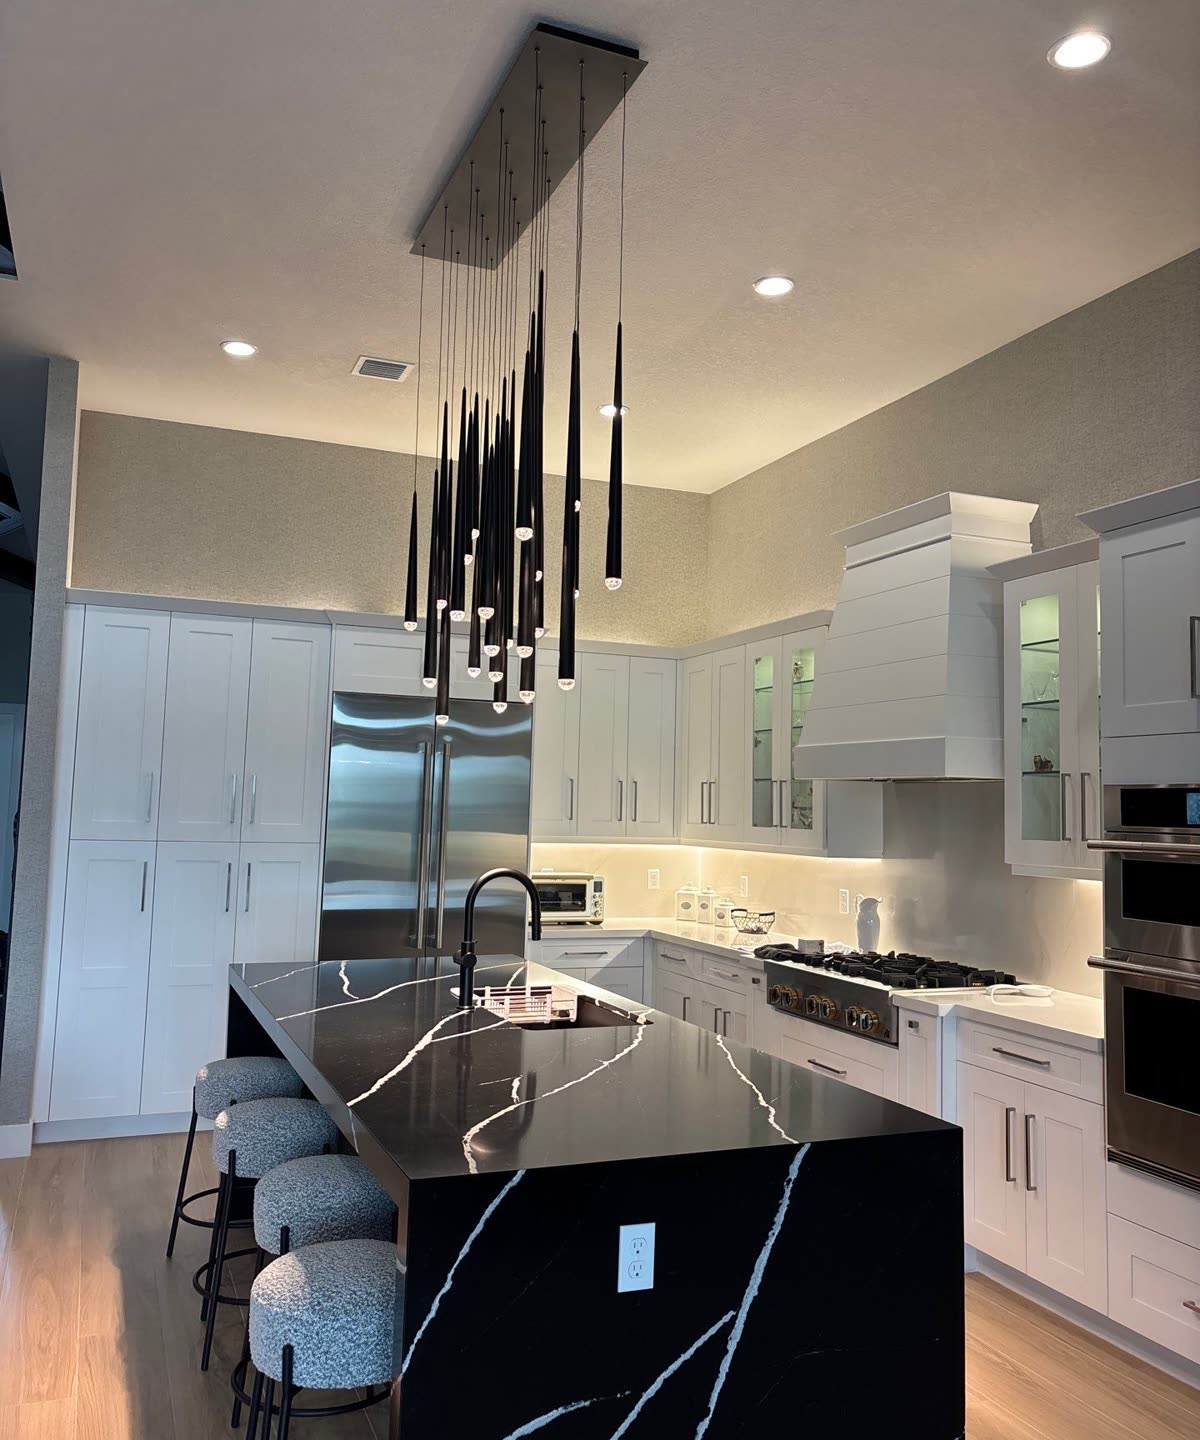
A waterfall island carries the countertop down both ends to the floor. It looks like one solid block, and bold veining reads as art. The stone ends also protect cabinet sides from stool kicks and mop water. However, they use far more slab, and the veining must line up at the mitered corner. That takes a skilled fabricator, so this detail raises cost more than most. Palm Beach County humidity is hard on raw wood edges, while engineered stone and sealed natural stone handle it well.
A contrasting island color
An island in a different color than the perimeter cabinets gives the room a focal point. A dark island against white cabinets, as in the photo above, anchors a bright room. This fails when the kitchen already has many competing finishes, so limit the room to two main finishes. Keep the hardware the same on both, so the island still belongs to the kitchen.
A furniture-style island on legs
Legs, a furniture base and an open shelf below make an island look like a piece of furniture. This style suits traditional and coastal homes, and it makes a small island feel lighter because you can see the floor. On the other hand, you lose closed storage, and the open shelf collects dust. Legs also make a sink or cooktop harder to fit. So choose it for a prep and seating island with no plumbing.
Pendants sized to the island
Plan the lighting with the island, not after it. NKBA calls for dedicated task lighting over every work surface, and pendants are the usual answer. Designers commonly hang them 30 to 36 inches above the countertop, a little higher with tall ceilings or large fixtures. Space single pendants about 24 to 30 inches apart on center, and keep the end fixtures at least 6 inches in from the island ends. A long island can also take one linear fixture or a pendant cluster, like the one in the waterfall photo. Add recessed or under-cabinet lights too, because pendants alone leave the perimeter counters in shadow.
What changes when the island gets plumbing or power
A cart, new stools or paint on an existing island are small jobs you can do yourself. A new island with a sink, a cooktop, outlets or pendants is different: it means work under the floor and in the ceiling. Moving plumbing or adding a circuit usually needs a permit, and in a condo the association often reviews the plan first. Our kitchen remodeling team plans the island, the aisles and the lighting together, and we handle the permitting process. We work across Palm Beach County, from Boca Raton kitchen projects to kitchens in West Palm Beach. Cabinets and slabs can take weeks to arrive, so an early start helps around hurricane season.
Bring us your measurements
Send us your room size and the job you want the island to do, and we will tell you what fits. H&H Signature Renovations holds a 5.0 average from 100+ Google reviews. Get in touch to talk through layout, seating and lighting.